Whether you’re a
beginner or you’ve been an experienced gardener for several years, it’s really
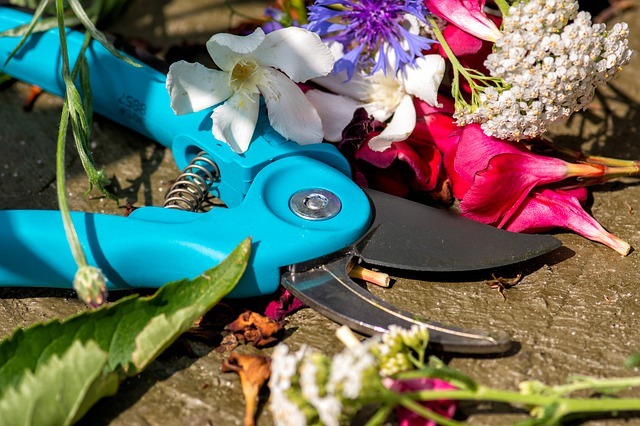
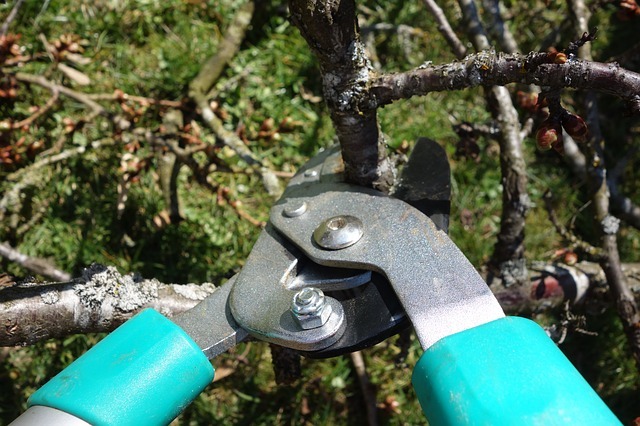
important to take care of your tools. It,therefore,becomes necessary to
sterilize your pruning tools (such as shears, loppers, saws, etc.) when your plants
are damaged and subject to various diseases.
It is imperative
to disinfect pruning tools before they are used on another plantbecause the
tools can easily catch on to the disease pathogens of the infected plant which
means that if they’re not sterilized and then subsequently used on another
plant, that plant is likely to catch the disease from the infected tools. Therefore
pruning tools should be sterilized after every use, as it is an effective way
of helping to prevent the spread of diseases from one plant to another.
It is a very easy
feat to transfer a disease from one plant to another by the usage of
contaminated tools. So if you want to gain some insight into the helpful ways
in which to sterilize your pruning tools, then just keep on reading.
While it has been
argued that sterilizing your pruning tools on the daily isn’t that cost-effective,
there is considerable evidence to suggest that doing so really helps reduce the
spreading of plant diseases to other plants. Therefore, it is highly
recommended to sterilize your pruning tools.
How to Sterilize Your Tools:
Cleaning and
disinfecting are two different steps. Cleaning means actively removing the soil
and debris and is the first action to take before sterilizing your tools via
disinfectants. As you start the disinfection process it is important to clean
the tools using water and rid them of any dirt, debris or residue.
After this, you
can use any disinfectant of your choice on the infected tool or soak the
infected tool into the disinfectant. If you’re having trouble removing the dirt
and debris by washing them in water, use a firm bristle brush or a specific
tool that sweeps it all off for more effectiveness.
It is highly
recommended for pruning tools to be disinfected after working on every plant
but this is not always practical therefore a more applicable approach to this
would be to switch betweendifferent tools while at work in the garden. Following
this, one tool is disinfected meanwhile you are working with the other. After plunging
your pruning tools, make sure to wipe away extra disinfectant. Washing your
tools daily does not give any guarantee as to the prevention of transmission of
plant diseases. For this reason, it is recommended to engage in sterilizing
your pruning tools on a daily basis.
When to Start Cleaning Your Tools:
As soon as you
take notice of any symptoms which points towards the fact that the plant is
diseased and infected, you must sterilize any of the pruning tools which you
used to prevent any plant diseases from further spreading because of your
infected tools. How do you make the decision of disinfecting your tools?
Well, it depends
on a lot of factors as well as knowledge about pathogens and their life
history. Factors on the basis of which you must make a conscious decision to
disinfect your tools are whether the plant is subject to a virus. If it’s a
vascular fungus or bacteria you must disinfect your tools. If you are taking out
irreplaceable plants, then you must also disinfect your tools.
Also while
gardening, avoid cutting out the active oozing cankers. In fact, wait for them
to dry out before doing so.
Here are several
disinfectants that can help sterilize your pruning tools and the benefits as
well as downsides of using each of these:
Bleach
Mix the liquid
bleach with water and then dip your tools into the mixture or shower the
mixture on the tools and let it dissipate. However contrary to popular belief,
bleach should not be the ultimate choice.Bleach is corrosive and will damage
the tool and the now damaged surface can become infested with microbes that
your sterilization will no longer be able to reach. Bleach is also very
phytotoxic and damages the cells of the branch you’re pruning.
Household Cleaners
Household
disinfectants such as Lysol or Simple Green Dcan be used to disinfect
your tools. The advantage of household cleaners is that they are relatively
gentle and not that damaging to your tools as compared to bleach or other
industrial cleaners. Fill a bucket with a household cleaner of your choice.
Soak the tool in it for a couple of minutes and then remove it.
Isopropyl Alcohol
Use 70% ofisopropyl
alcohol to help sterilize your tools. Drop the tools into the alcohol and then
separate them and allow them to be parched. You can also use a wet piece of
cloth with alcohol and rub the gardening tools with it. They are immediately
effective however they are flammable.
Disinfectant Wipes
You can use wipes
that are used for general-purposeslikeClorox
or Lysol disinfecting wipes. Remove the wipe (disinfectant) from the
container and wipe the tool thoroughly. Throw away the wipes after using them.
Steam or Dry Heat
Heat your
gardening tools to 180°-200° F (82°-93° C) under a cover for about 30
minutes. For smaller tools place them under a steam basket, cover them and
then steam them on the stove for about half an hour.
Pine Oil Products
To accurately
makeuse of Pine oil products, mix 25% of its solution and then submerge the
tools into the solution. Pine oil products aren’t as corrosive as other
disinfectant methods but they’re also not as effective.
Trisodium Phosphates (TSPs)
To sterilize with
TSP, mix 10% of solution (one-part TSP to nine parts water) and let the tools
sit in the solution for three minutes. TSPs are inexpensive however they are
extremely corrosive for the tools. You may find TSPs near painting products.